
As we do more teaching online, I receive many questions about creating video content. In an effort to help answer this question, I wanted to let you know that your Smart Phone can do a pretty awesome job of creating a personalized recording.
In the video below, the Alaska Folk Festival gives tips on how to create a high quality recording. Their video is meant for recording music, but the concepts are the same for your course recordings.
Pick a Quiet Uncluttered Location
- Find a quiet and comfortable spot at home or in a quiet area where you can minimize distractions and outside noises. If you are doing your video outdoors, be aware of wind noise.
- Look at your background. Is there anything that you don’t want students to see? Is there anything that might be distracting? You want your students attention on the lesson you are delivering, and not on the background.
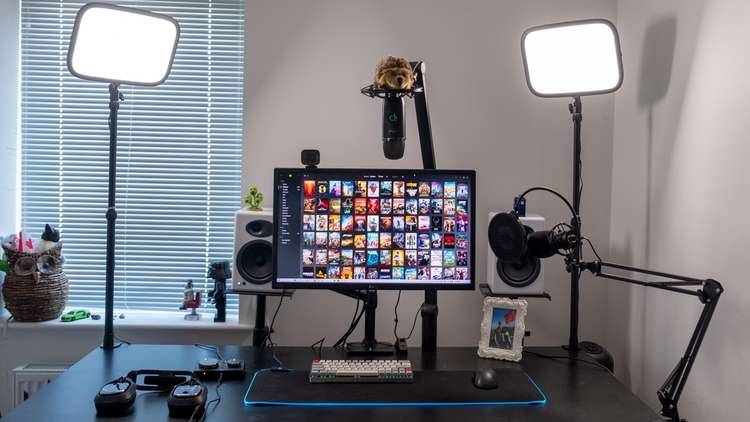
Lighting is Important
- A $40 webcam with good lighting will create a higher quality video than a $1200 webcam with bad lighting. Don’t record in a dim room, and avoid having a bright window or light behind you. If it can be avoided, try to not have your only light source directly over-head.
- What you want is indirect light from a window in front of you or slightly off to either side. This will illuminate your face while the camera is pointed at you. If you have a lamp, place it behind your recording device.
Framing Your Shot
- Having your video properly framed will make it look more professional and will enhance student engagement.
- Make sure your camera is at eye level. An inexpensive way to do that is to put your camera on top of a stack of books. A good “eye-line” is important to help students feel comfortable watching the video.
- Make sure you fit nicely in the picture. You don’t want the bottom of your face or top of your head to be cut off. Again, look at your background. Is there a plant that looks like it’s growing out of your head?
Audio

- Audio is more important than video. A bad picture with great audio isn’t the best, but is better than bad audio with a good picture. A good picture with bad audio is going to be unwatchable every time.
- Use an external microphone if possible. They do make microphones that can be plugged directly into a smartphone. Recording with a headset microphone is also a great choice.
- If you are recording with a webcam or built-in camera microphone, be careful about background noise. Often wind and other sounds will be amplified through your microphone.
Pre-recording Steps
- Think about how you are dressed. Pajamas might be comfortable, but do they present the right image to your students?
- Do a quick test prior to doing the actual recording. This will help tell you if the background is OK, if you are centered on the screen, and if the audio is working.
- Look at the camera. This is your way of making “eye-contact” with the class. Relax and use mannerisms as if you were presenting a live lecture. This personalization will be appreciated by your students.
- Have a script – know what you are going to say. Winging it through multiple takes could take a long time. It’s best to prepare what you are going to say prior to stepping in front of the camera. Plus if you have a script, this can be used as a transcript for students who need it.
I hope this was helpful as we continue to offer online courses. Thanks for reading the FLC and I hope you have a great weekend!
